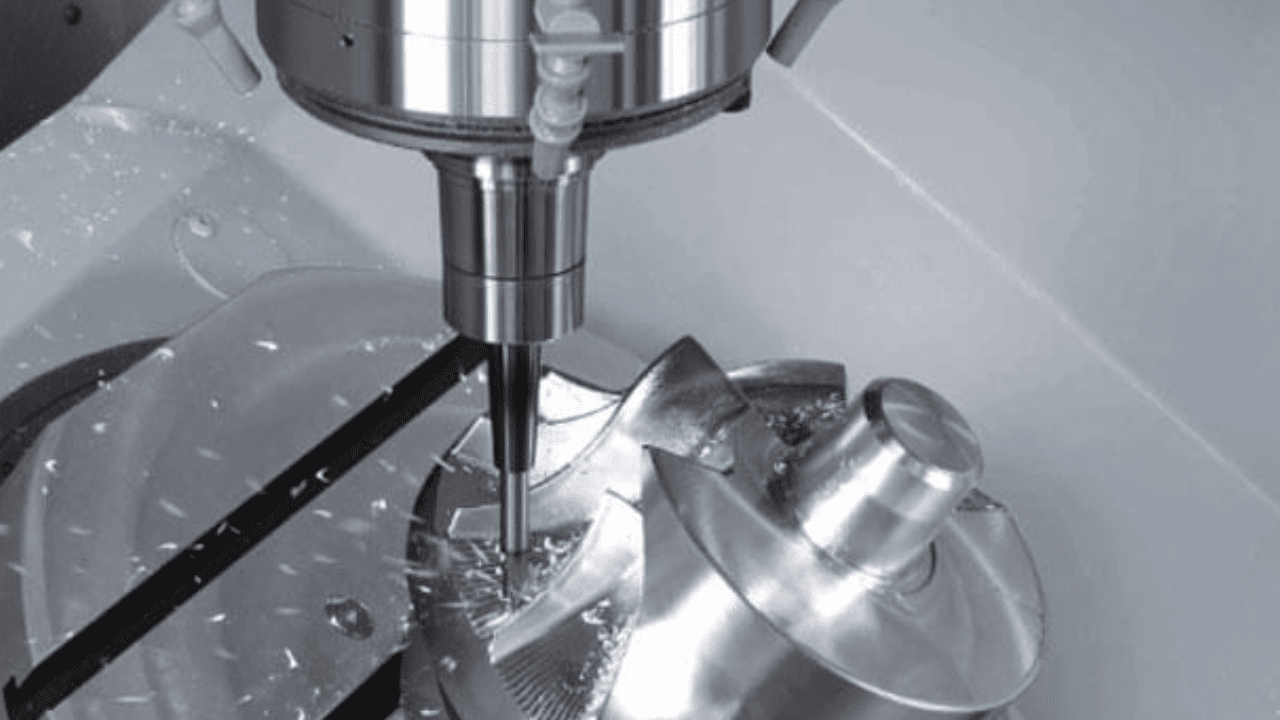
Which Machining Tolerance Types Are There?
The machining tolerance is the greatest value at which a dimension can vary from its ideal plan values. Any production process’s accuracy is represented by its machining tolerances. The smallest possible value for machining tolerances is what is needed for maximum precision and accuracy.
To put it simply, the accuracy of a process is inversely proportional to the machining tolerances. In practice, the value of cnc machining tolerances can never be zero because there is no such thing as a perfect process. However, this value has been significantly reduced to almost nothing thanks to contemporary manufacturing techniques like CNC machining.
Types of Machining Tolerance
Because there are differences in part geometries and machining process types, tolerances in CNC machining can take many forms. Let’s examine each of these various tolerances individually:
Geometric Tolerances
The shape, placement, and orientation of features on a part are all governed by geometric tolerances. These tolerances guarantee that geometric shapes like circles, lines, and profiles meet predetermined standards. Perpendicularity, concentricity, parallelism, and symmetry are examples of common geometric tolerances. In industries like aerospace and automotive manufacturing, where exact mating and assembly are crucial, these specifications are vital.
Dimensional Tolerances
These allowable size variations for a part’s features are specified by the dimensions of the part. These tolerances represent the permitted variation between the specified and actual dimensions and are expressed as numerical values. In sectors where parts must fit precisely and perform flawlessly, such as the medical device manufacturing industry, tight dimensional tolerances are essential.
Tolerances for Surface Finish
These are the permissible variations in the roughness or texture of a machined surface. In applications where friction, corrosion resistance, or aesthetic appeal are important considerations, achieving the desired surface finish is essential. Surface finish tolerances are crucial to the functioning of industries like electronics, where smooth surfaces are necessary.
Tolerances Concerning Position
These tolerances control how far a feature may deviate from a reference point or datum. When parts need to fit together precisely during assembly, these tolerances become especially important. To ensure proper alignment of mating parts, positional tolerances are used, which enhances assembly simplicity and functionality. It is common for sophisticated machinery and precision instruments to be produced with this kind of tolerance.
Runout Tolerances
A rotating part’s circular movement or deviation is the main focus of runout tolerances. This is particularly significant for applications like the production of gears and bearings where rotational accuracy is crucial. Runout tolerances provide better performance and longer life by preventing eccentricity and wobbling in rotating parts.
Angular Tolerances
These regulate how much an angle on a part can vary without being considered abnormal. In applications like automotive and aerospace, where components must fit together seamlessly to ensure proper function and safety, precision in angular dimensions is essential. Parallelism and angularity are two instances of angular tolerances.
Orientation Tolerance
The variation of a workpiece’s form concerning a reference form is known as orientation tolerance. The datum is the plane or reference form that is used to verify the relative variances. The workpiece’s angularity or perpendicularity is taken into account when measuring orientation tolerance. Moreover, orientation tolerance is expressed in mm or inches rather than degrees when assessing a change in angularity.
One-sided Tolerance
In CNC machining, unilateral tolerances indicate that there is only one possible direction for the permitted variance to occur. The component’s fundamental size is the same as either the upper or lower bound, and the tolerance can only be either positive or negative neither can be both. For example, the basic size and lower limits of the process would both be 10 mm if a pipe had a diameter of 10 mm and a unilateral tolerance of +1 mm. In this instance, the upper limit would be 11 mm.
Conclusion
The foundation of precision manufacturing, and machining tolerances affect the functionality and quality of products in a variety of industries. Tolerances, whether they relate to geometric, dimensional, or surface finish aspects, must be understood and used accordingly. Achieving an equilibrium between accuracy and productivity is essential for fulfilling the constantly expanding requirements of contemporary production.


